Buy heat-set inserts for the actual screw and printed boss, then choose a tip system that explicitly fits your iron. CNC Kitchen M3 × 5.7 and ruthex RX-M3×5.7 are documented candidates for an M3 project. A large mixed kit is useful only when its sizes match projects you expect to build.
For tools, compare CNC Kitchen’s TS100/101 set with ruthex LOE-SET-012 according to the heater you own. This guide compares documented interfaces and buying requirements; it does not claim measured pull-out strength or a universally suitable installation temperature.
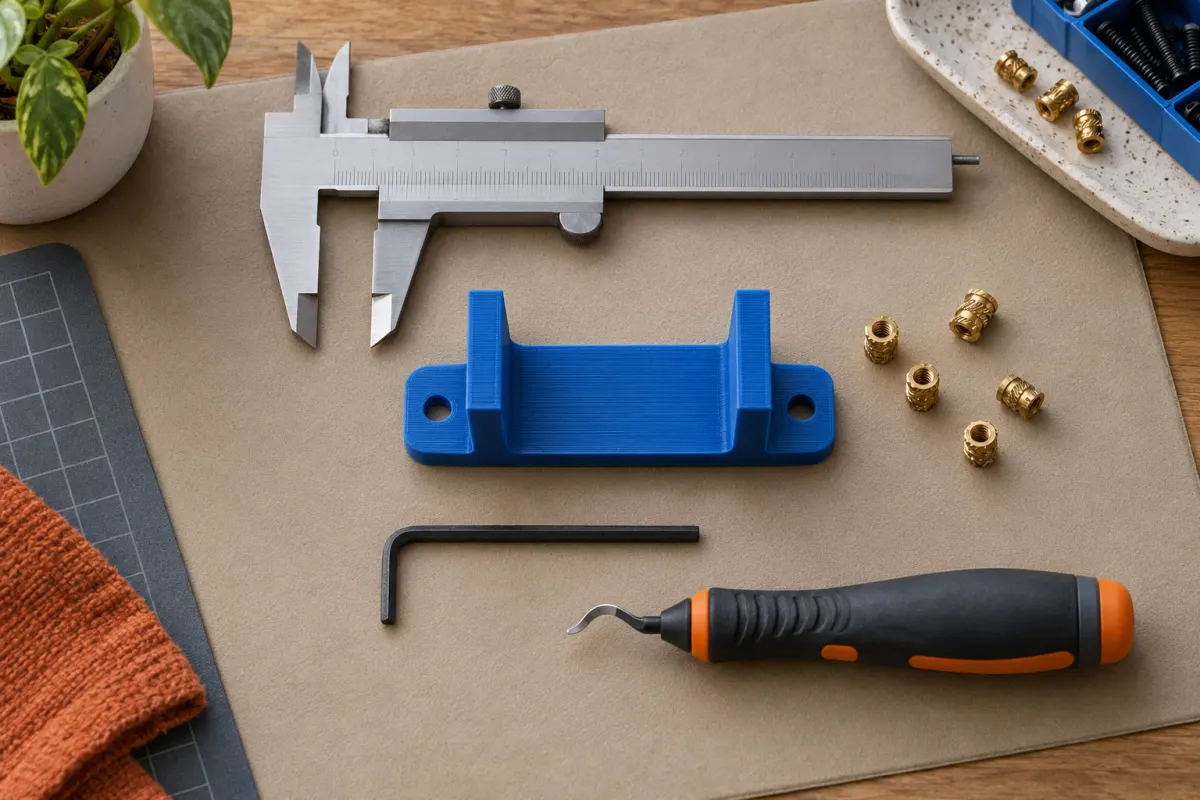
Start with the insert drawing
| Product | Documented size | What still needs checking |
|---|---|---|
| CNC Kitchen M3 × 5.7 | M3 internal thread; 5.7 mm length | Outer geometry, receiving hole, surrounding wall, chosen tip |
| ruthex RX-M3×5.7 | M3 internal thread; 5.7 mm length | Maker’s installation dimensions and the printed boss |
See the CNC Kitchen product specification and ruthex specification. Matching thread and length does not establish identical knurl geometry, required hole size, or retention in your print.
M3 identifies the screw thread. It is not a 3 mm receiving-hole instruction. Download the exact insert drawing before finalizing CAD, and keep that drawing with the project. A substitution that looks similar may need a revised hole or boss.
Match both sides of the heated tool
| Tip system | Documented tool route | Purchase implication |
|---|---|---|
| CNC Kitchen TS100/101 adapter and tip set | TS100/101-style cartridge; maker lists Pinecil and Miniware compatibility | Verify exact iron model and the included cartridge/tips |
| ruthex LOE-SET-012 | Set includes a 900M/T18 adapter and M2–M8 tips | A different iron family may require another specific adapter |
The CNC Kitchen set and ruthex set are different interfaces. ruthex also lists separate TS100/TS101/Pinecil and Weller adapters; some are tied to a particular set revision.
Check the heater connection as carefully as the threaded connection between adapter and insert tip. A tip that screws onto an adapter does not prove the complete assembly belongs in your iron. Do not improvise electrical cartridge compatibility or assume every product marketed as a soldering station uses the same tip format.
Build a complete basket before comparing totals
- The exact inserts, with enough for the project and a few practice pieces.
- A compatible heater or iron, if you do not already own one.
- The correct adapter or cartridge and the insert-size tip.
- A suitable stand and the tools required by the manufacturer's procedure.
- The specified screws and any washers needed by the actual design.
Separate included components from optional accessories. A photograph containing several adapters does not guarantee they all ship in one box. Check the current contents against the selected variant and revision.
Current delivered prices are unverified here. Compare complete baskets including shipping, rather than treating the insert pack's price as the whole project cost. If you only need one thread size, spare inserts in that size may be more useful than many unused sizes.
A matching example: a removable electronics lid
Imagine a noncritical printed enclosure with four M3 screws holding its lid. Your tentative insert is 5.7 mm long, but the modeled boss is only 5 mm deep. That combination needs redesign or a documented shorter insert; pushing the longer insert into the existing boss is not a compatibility solution.
Check space below the insert, remaining bottom material, screw engagement, and whether the screw can bottom out before the lid is clamped. Those dimensions depend on the actual insert and assembly. Do not simply make a blind hole exactly as deep as the insert length.
Print one representative boss with the intended walls, material, and orientation before printing the enclosure. A successful practice installation is useful process evidence, but it is not a rated load test. Keep functional fit separate from claims about ultimate strength.
Budget for a repeatable installation process
A dedicated insert tip can make positioning more manageable, but it cannot correct a crooked boss, unsuitable hole, or insufficient surrounding material. Plan support for the part and access for the tool before buying a press or larger kit.
Follow the insert, tool, and filament manufacturers' applicable instructions. Temperature, dwell, and approach depend on the combination; a nozzle printing temperature is not automatically the correct insert-tool setting. Use the specified holder and handling procedure for heated equipment.
Record which insert, tip, material, and printed geometry produced a usable result. Let the assembly cool as instructed before checking the screw fit. If the boss distorts or the insert tilts, change the process or design on another sample instead of treating the damaged assembly as acceptable.
Who should buy a kit, and who should skip it?
A focused M3 kit makes sense when several upcoming projects use that thread and you expect repeated assembly. A multi-size kit makes sense when your designs already call for several documented insert sizes. Skip the purchase for now when a decorative part needs no fastener or the downloaded design specifies a different fastening method.
Do not replace a specified captive nut or screw arrangement solely to use new inserts. The surrounding geometry and load path may change. For everyday cases and organizers, choose the fastening system during design rather than forcing it into a completed model.
Use calipers to check accessible dimensions, and our walls versus infill guide to understand the printed structure around the feature. Neither replaces the insert maker's dimensional drawing.
Sources & further reading
- CNC Kitchen: M3 × 5.7 heat-set inserts
- ruthex: RX-M3×5.7 inserts
- CNC Kitchen: TS100/101 adapter and insert tips
- ruthex: LOE-SET-012 insert tip set
- ruthex: soldering iron adapters and accessories
Manufacturer guidance can change. Check the instructions for your exact printer, build surface, and filament.