Buy magnets to match a verified pocket and closure design, then test a small quantity before ordering a large pack. Diameter, thickness, polarity, the gap between mating parts, and secure retention all matter. The strongest advertised grade is not automatically the best choice.
This guide is for noncritical adult hobby projects such as a workshop box closure. It does not qualify a design as a safe children's toy or a rated lifting device. Manufacturer and CPSC references were checked October 9, 2026; the examples below are design exercises, not tested product recommendations.
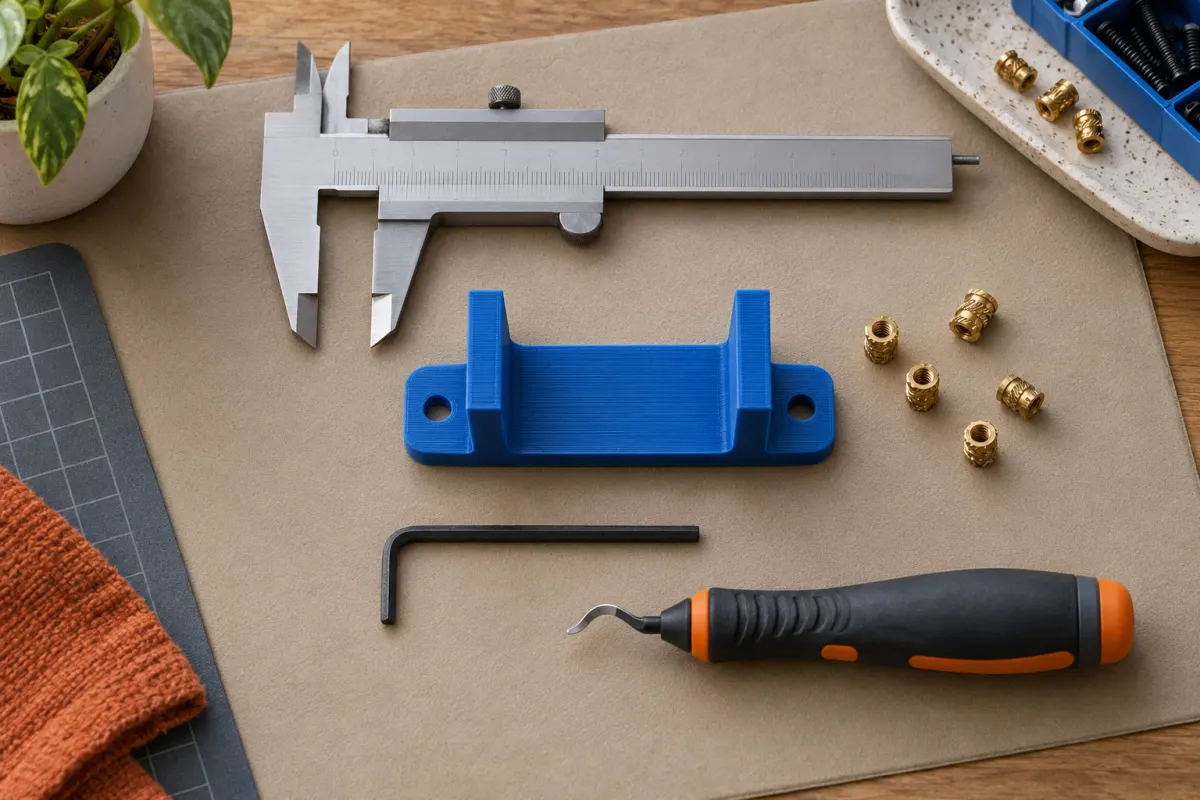
Decide whether magnets belong in the project
CPSC warns that swallowed high-powered magnets can cause severe internal injury or death. Keep loose magnets and projects that can release them away from children and anyone likely to mouth small objects. If ingestion is suspected, seek immediate medical attention rather than waiting for symptoms. A dab of glue or a printed cap is not proof that a magnet cannot become accessible after wear or breakage.
Check the exact product for recalls before buying. The 2026 MiniWarGaming and Primal Horizon disc-magnet recall demonstrates that hobby branding is not evidence of safety. Do not buy a recalled item or rely on its continued marketplace availability.
For a child's organizer or a frequently dropped object, reconsider whether a magnet is needed at all. A suitable nonmagnetic closure may meet the goal without introducing a loose magnet. For adult projects, account for every piece during assembly and store unused stock in a labeled, secured container.
Match the dimensions and the mating arrangement
| Specification | Why it matters | Buying question |
|---|---|---|
| Diameter and thickness | They determine pocket fit and remaining wall thickness | Are dimensions and tolerances stated, with units? |
| Magnetization direction | The poles must face the intended mating surfaces | Is the disc axially or diametrically magnetized? |
| Magnet pair or steel target | Different mating arrangements can behave differently | What arrangement was used for the quoted force? |
| Coating and environment | The outside surface is part of the adhesive joint | Does the supplier support the intended environment? |
| Published pull force | The test arrangement may differ from your print | What gap, target, direction, and fixture were used? |
If a shared model specifies a nominal 6 × 2 mm disc, that is a starting specification, not permission to replace it with any similar-looking magnet. Confirm what the dimensions mean and whether the model author allowed adhesive clearance. Measure purchased parts with suitable tools and use a small printed fit sample; see our tolerance guide.
Judge the closure as a complete assembly
K&J’s closure examples show that separation reduces attraction and that magnet-to-magnet and magnet-to-steel arrangements behave differently. A force quoted for direct contact does not describe the same magnets behind printed walls, adhesive, or fabric. These supplier examples explain the trend; their numerical results are not ratings for your design.
A lid also introduces geometry. A small handle far from the closure can give the user more leverage than a direct straight pull. A sideways sliding lid asks a different question from a lift-off lid. More attraction may make a thin lid awkward to open or stress the material around its pocket.
Test the actual closure gap and normal opening motion with a small prototype. Ask whether the lid stays closed during intended handling and opens without bending excessively. This is a usability check for a noncritical object, not a certified load test. Do not turn a supplier's pull-force number into a hanging-load rating for a printed hook.
Plan polarity and retention before gluing
Mark one reference pole and dry-fit mating parts so the intended faces attract. Work through one pair at a time. Keep other loose magnets far enough away that they cannot jump into fresh adhesive or dislodge an assembly. Record the orientation in your project notes if several interchangeable parts must mate consistently.
K&J’s adhesive guidance recommends checking the exact adhesive and substrate preparation rather than treating every plastic alike, and warns against using hot-melt glue on ordinary neodymium magnets because of heat. A glue suitable for the metal coating still needs to bond to the printed polymer. Our PLA and PETG glue guide explains how to narrow that choice.
Design a retention feature when appropriate, but do not assume an enclosure or interference fit makes the project child-safe. Leave the adhesive to reach its specified cure before bringing the closure into service. Check for loosening during use and retire a damaged assembly promptly.
Worked example: order for an actual bill of materials
Hypothetical planning example: you want to make five adult workshop boxes, with four mating magnet pairs per box. Each box needs eight magnets, so the production quantity is 5 × 8 = 40 magnets. Allocate four more for two prototype pairs and four for assembly losses or spares: the planned requirement is 48.
This arithmetic does not establish the required magnet size or strength. First prove the closure with the sample quantity. If you change to a magnet-and-steel-target design, recalculate both counts and repeat the fit and opening checks; it is a different assembly.
Compare delivered cost for the quantity you will use, including storage and adhesive. A mixed assortment may leave most sizes unused while providing too few of the correct one. Keep the supplier's dimensional information with your model files so a reorder does not silently introduce a different thickness or coating.
What to put in the cart
- A small initial quantity in the documented dimensions and magnetization direction.
- A compatible adhesive selected for both the coating and printed material.
- Measuring tools already suitable for the required fit.
- A labeled storage container and a way to mark polarity consistently.
- Matching steel targets only if the design was developed for them.
Leave giant mixed packs and extra-strong upgrades until a prototype explains why you need them. If removal for repair is important, compare screws and nuts or threaded inserts before committing to a permanent magnetic assembly. A useful purchase is the one that fits the design, can be assembled consistently, and remains appropriate for the people who will handle the finished object.
Sources & further reading
- CPSC: magnet ingestion hazards
- CPSC: MiniWarGaming and Primal Horizon disc magnet recall, May 2026
- K&J Magnetics: magnetic closures and separation distance
- K&J Magnetics: gluing neodymium magnets
Manufacturer guidance can change. Check the instructions for your exact printer, build surface, and filament.