For a close-fitting decorative PLA or PETG joint, a compatible cyanoacrylate adhesive is a practical candidate to test. For a joint needing gap filling or longer positioning time, evaluate a compatible two-part epoxy. Choose from the exact product instructions and a sample of your printed material; neither adhesive family guarantees a strong bond on every formulation.
This buying guide covers ordinary hobby assemblies, not load-rated, food-contact, medical, or safety-critical repairs. Sources were checked October 9, 2026. We have not performed comparative bond-strength testing, and we do not rank products by invented strength scores.
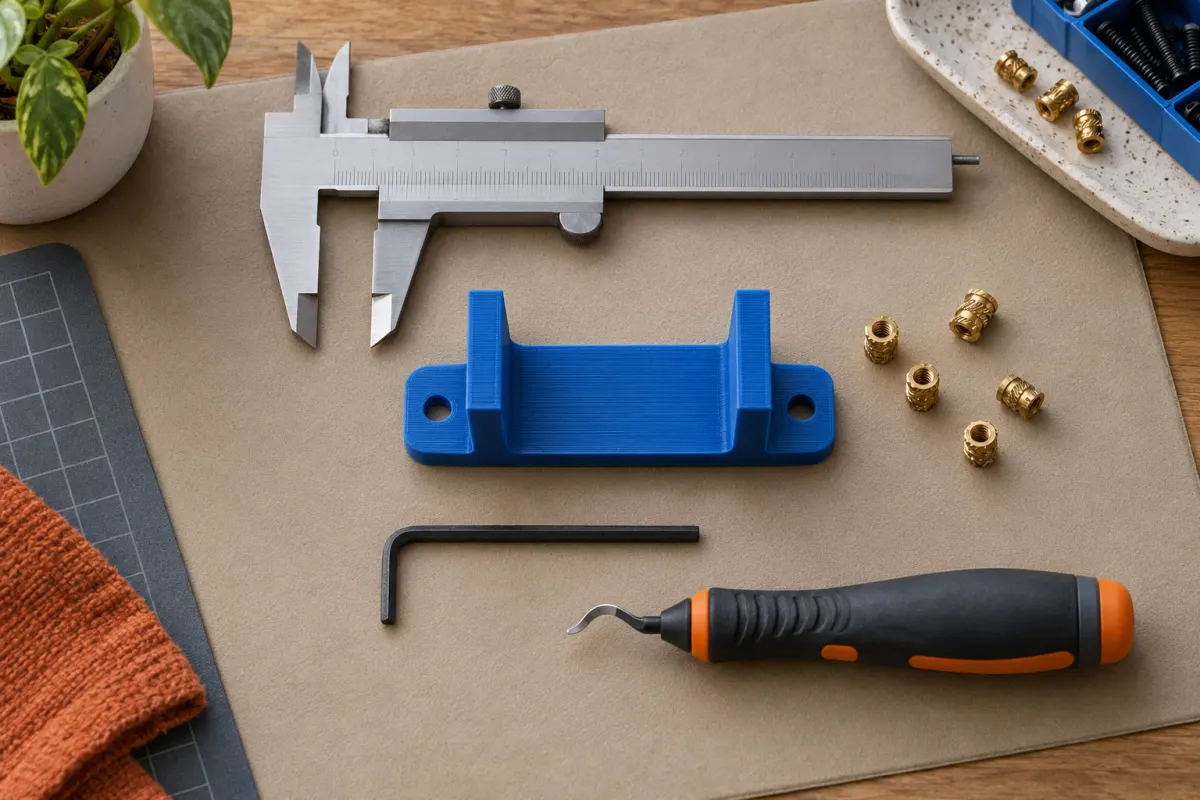
Buy for the joint, not just the polymer name
Start with what the joint must do. Is it a display model that sits on a shelf, a large costume seam that must be aligned, or a bracket that needs repeated disassembly? Record the materials on both sides. PLA bonded to PLA is a different selection problem from PETG bonded to a painted metal insert.
The Prusa assembly guide discusses cyanoacrylate and other bonding approaches for prints. It is useful background, but its examples are not a certification for every filament brand, pigment, or joint geometry. Treat them as candidates for a small test, not proof that one bottle is universally strongest.
Dry-fit the parts before shopping. A warped edge, visible rocking, or a tiny contact patch may need a design or printing correction. More glue is not a substitute for alignment. Add locating features where appropriate, or consider inserts and screws if you need a serviceable assembly.
Compare the options by their working behavior
| Option | Reason to evaluate it | What to check |
|---|---|---|
| Cyanoacrylate, often called super glue | A small close-fitting joint where quick positioning is manageable | Substrate compatibility, viscosity, fixture time, full cure, and cosmetic residue |
| Two-part epoxy | A suitable joint needing gap filling or a more deliberate assembly process | Exact resin/hardener ratio, working time, allowable gap, and cure conditions |
| Specialized plastics bonding system | A documented hard-to-bond substrate | Whether its specified plastics include your actual need; primer is a separate step |
| Mechanical fastener | Repeated access, replacement, or adjustable assembly | Wall thickness, fastener fit, loading, and access for tools |
Thin liquid can run into unwanted places; a gel can be easier to place but still needs a suitable joint. “Plastic glue” is a broad label. It might describe a cyanoacrylate system, an epoxy, or a solvent product with very different limitations. Read the chemistry and instructions rather than choosing by package color.
Distinguish working time, setting, and full cure
Working time is the interval available to mix or position the product. Fixture or set time is not necessarily the point when the joint can take its intended load. Full cure can be much later and depends on the product's stated conditions.
For a concrete example, Loctite’s Epoxy Clear Multi-Purpose technical sheet distinguishes its short setting period from a 24-hour full cure. It specifies equal-volume mixing and lists exclusions, including polyethylene, polypropylene, and flexible materials. Those are instructions for that formulation, not a universal epoxy schedule or explicit approval of every PLA/PETG blend.
Loctite’s Plastics Bonding System instead uses an activator followed by adhesive. Do not treat the activator as one half of a mix or assume that a product intended for difficult plastics is necessary for all prints. Buy only after understanding the exact sequence and confirming suitability for both surfaces.
Use a small coupon before committing the finished parts
Illustrative selection exercise: print three pairs of simple tabs from the same spool, orientation, and profile as the final object. Use one pair for a dry-fit check and two for candidate adhesive trials. Give each trial the same joint area, preparation, and cure conditions so the comparison answers a specific question.
Keep a note of product name, batch if available, preparation, application time, and when full cure should be reached. After that interval, examine a noncritical sample under ordinary gentle handling. Watch for separation, white residue, surface damage, or a joint that prevents the intended fit. Do not use your fingers as a clamp near exposed adhesive or conduct uncontrolled tests with heavy suspended weights.
A successful coupon reduces uncertainty about that combination; it does not produce a rated structural strength. If a failure would injure someone or damage valuable equipment, use an appropriately designed and validated fastening method rather than treating this hobby check as engineering approval.
Budget the small assembly kit and workspace
For an initial project, consider a small fresh package, a protected work surface, suitable positioning aids, and the mixing/applicator supplies required by the label. A large bottle is poor value if it expires before the next project or cannot be dispensed accurately. Separate storage and handling requirements can matter more than saving a few cents per milliliter.
Review the exact safety data sheets before use. The Loctite product page supplies separate resin and hardener SDS documents; two-part products can have different hazards before mixing. Follow the relevant directions for ventilation, eye and skin protection, spill cleanup, and disposal. Low odor or a water-resistant cured joint does not establish that the uncured product is harmless.
For a painted model, verify whether the adhesive should contact bare material or a coating, and test visible seams for staining before finishing. Link the assembly plan to your painting shopping list so you do not coat a surface that must be bonded later.
A practical shortlist checklist
- Identify both substrates, the joint gap, and whether the part must come apart again.
- Choose a candidate whose current instructions fit that use.
- Check working time, preparation, full cure, storage, and safety requirements.
- Dry-fit the final parts and make a small same-material sample.
- Buy a sensible package size plus any required mixing or positioning supplies.
- Keep the product instructions with your assembly notes.
For a straightforward decorative joint, begin with one suitable candidate rather than a drawer full of specialist products. Move to epoxy when its documented properties solve a real gap or assembly problem. Use screws, inserts, or another appropriate mechanical design when maintenance and predictable retention matter more than hiding the joint. The useful distinction is what the connection must survive, not which adhesive has the boldest strength claim.
Sources & further reading
- Prusa: guide to gluing and assembling 3D prints
- Loctite Epoxy Clear Multi-Purpose: technical data sheet
- Loctite Epoxy Clear: instructions and resin/hardener safety data sheets
- Loctite Plastics Bonding System: exact product and instructions
Manufacturer guidance can change. Check the instructions for your exact printer, build surface, and filament.