Start with surface-preparation supplies, one compatible primer, a small set of paints, a couple of brushes, and masking materials. Test that combination on a spare print before buying an airbrush or a large paint collection. Include the workspace and protection required by the exact products.
This list is for decorative printed models, props, and organizers. It does not make a print suitable for food contact or certify a painted object as a children's toy. References were checked October 9, 2026; this is a researched shopping plan, not a hands-on paint test.
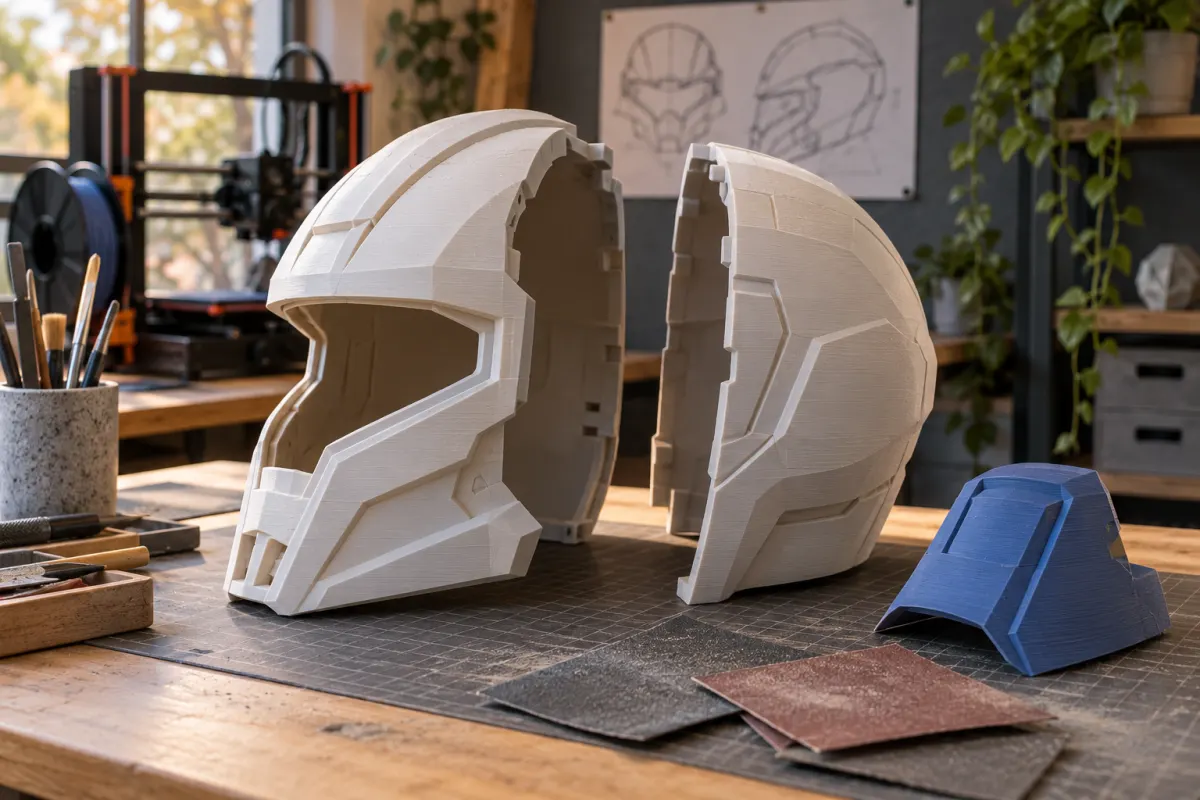
The small kit that covers a first project
| Item | Purpose | Selection check |
|---|---|---|
| Abrasives and a small sanding block | Reduce visible seams and support marks | Choose sizes and grades suitable for the material and details |
| Compatible primer | Prepare a consistent base for the paint system | Check substrate, application method, recoating, and cure instructions |
| A few model paints | Provide the actual colors needed | Choose a compatible system and intended brush or spray application |
| Two useful brushes | One for broader areas, one for detail | Prefer usable sizes over a large assortment |
| Masking and a holding aid | Keep fingers off wet paint and protect fit surfaces | Test tape adhesion and avoid damaging delicate parts |
| Workspace and protective supplies | Meet the selected product requirements | Read labels and safety data before deciding what is needed |
| Optional compatible clear coat | Provide a specified finish or protection | Confirm compatibility and necessity with the paint maker |
A palette, cleaning supplies approved for the paint, and containers for waste may also be needed. Use what you already own when it meets the instructions; there is no benefit in buying duplicate hobby tools simply because they appear in a bundle.
Choose the finish before the supplies
A tabletop terrain piece, smooth display prop, and functional drawer label need different amounts of preparation. Decide which surfaces will actually be seen, which dimensions must still fit, and whether visible layer texture is acceptable. Sanding every hidden surface can consume time without improving the result.
Formlabs’ priming and painting guide presents a workflow involving support removal, surface preparation, primer, and controlled paint application. Its resin-print examples are useful for planning stages, but they do not establish compatibility with every PLA or PETG filament. For resin prints, complete the resin manufacturer's required cleaning and post-curing process before finishing.
Dry-assemble multi-part models and address seams first. Keep mating faces, threads, and measured clearances in mind: coating those areas changes fit. Read our assembly adhesive guide if the project needs bonding, and decide whether parts are best painted separately or after assembly.
Pick a compatible primer and paint system
Check the primer's listed substrates and the paint maker's guidance on coatings beneath it. “Works on plastic” is not an unlimited compatibility claim. Choose a small package and test the full sequence on a leftover printed piece: preparation, primer, color, and any clear coat. Allow the specified intervals between stages before judging adhesion or appearance.
For a modest first decorative project, a brush-applied system can avoid the additional equipment needed for spraying, provided its instructions support the intended substrate and application. A product intended only for airbrushing is not automatically the best choice for a hand-painted surface. Conversely, a spray finish can be useful for larger areas when you have an appropriate workspace.
Buy colors for one actual object. For example, a gray enclosure with orange lettering needs far fewer bottles than a full miniature range. A primer color that suits the final scheme can simplify coverage, but it does not replace the compatible preparation and curing steps.
Plan for dust and spray before checkout
Preparation and paint application present different exposure problems. Manage sanding dust according to the printed material and finishing-product instructions. A covering that catches overspray does not provide ventilation, and a general dust mask does not establish protection from paint vapors. Select controls and protective equipment from the exact product guidance and your work conditions.
For example, The Army Painter’s Army Green aerosol primer instructions identify a flammable aerosol and warn against breathing spray or mist. They also specify application conditions. That is a reason to plan a suitable painting location before buying a can, not to assume every indoor workbench is appropriate.
Use the maker's product-specific safety data sheets for handling, storage, and disposal. Keep paint and contaminated cleaning materials away from food preparation and children. Water-based does not mean all waste belongs down a drain; follow the product guidance and local disposal requirements. If the required workspace is unavailable, choose another supported process or postpone that finish.
Worked example: a focused first-project budget
Hypothetical US-dollar budget, not current retail prices: allow $8 for abrasives, $10 for primer, $15 for three needed paint colors, $10 for brushes, and $7 for masking and a palette. That totals $50 before tax, shipping, cleaning supplies, and any workspace or protective equipment you still need.
If you already own suitable brushes and masking supplies, the same example drops by $17 to $33. Do not count safety or workspace requirements as optional just to reach that number. If those requirements make the selected process impractical, change the process rather than leaving them out of the calculation.
A large paint set might look cheaper per bottle while costing more for the five colors you will actually use. Compare the complete first project and the next likely one. Leave an airbrush, compressor, elaborate holders, and specialty weathering products until you can explain which step they will improve and what extra cleaning or ventilation they require.
Buy and work in a repeatable order
- Choose the decorative object and identify surfaces that must retain their fit.
- Select a compatible preparation, primer, paint, and optional clear-coat system.
- Read its instructions and safety documents; prepare the required workspace.
- Test the complete sequence on a spare printed sample.
- Inspect it after the specified cure for adhesion, surface damage, and lost detail.
- Purchase additional colors or equipment only when the sample supports the plan.
Keep a note of the filament or resin, products, coats, and drying intervals. That makes the next project reproducible and helps diagnose a problem without changing everything at once. The best starter list is small enough to understand but complete enough to use correctly. For removal of support scars before painting, our finishing-tool guide explains where hand tools fit into the process.
Sources & further reading
- Formlabs: priming and painting 3D printed parts
- The Army Painter: Colour Primer Army Green instructions and safety information
- The Army Painter: product-specific safety data sheets
Manufacturer guidance can change. Check the instructions for your exact printer, build surface, and filament.